

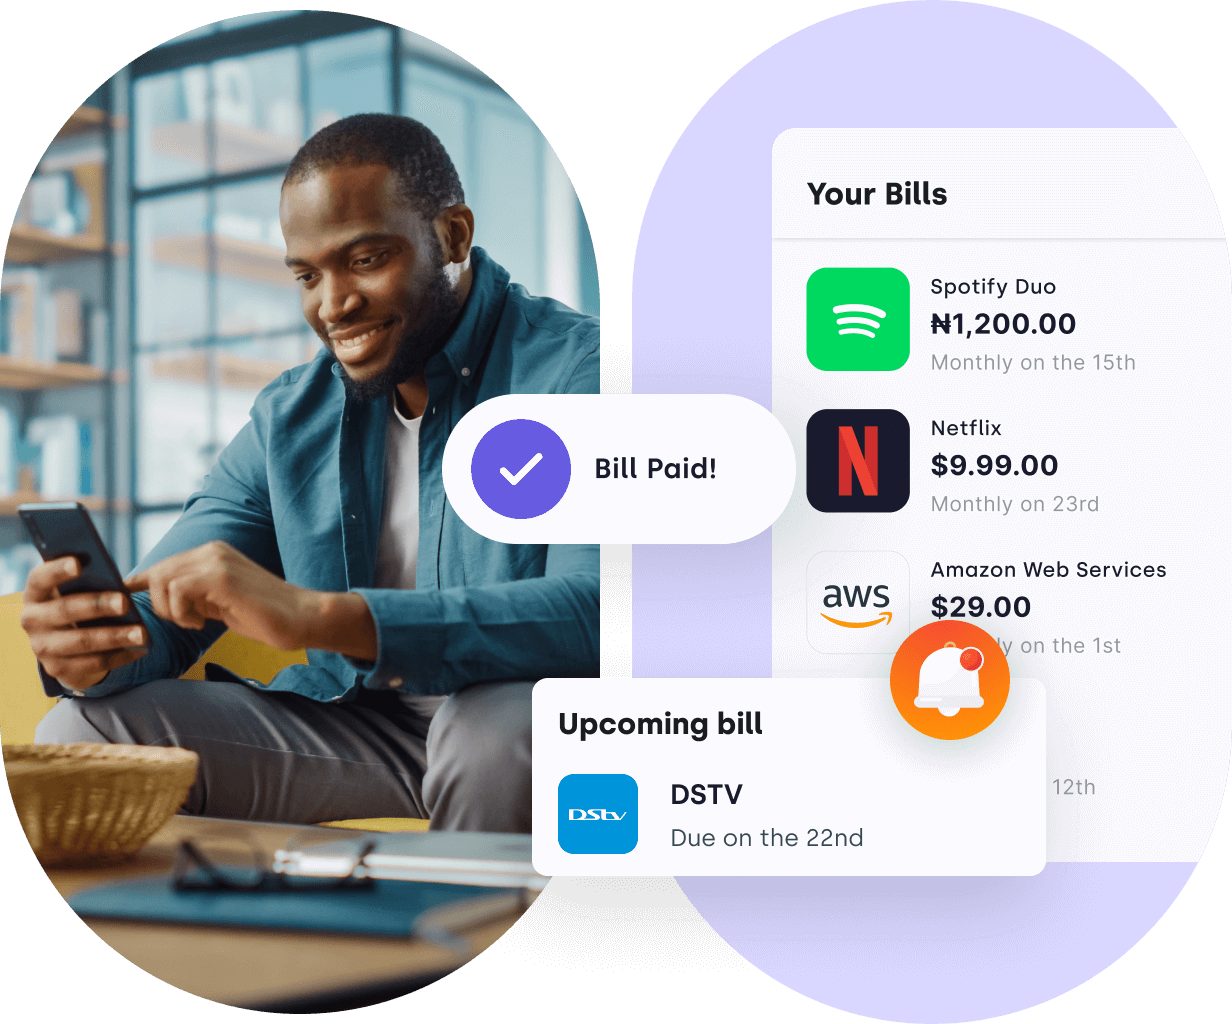
Managing your funds is critical to attaining financial success and stability. This guide walks you through budgeting and bill planning in eight clear steps, so you can take control of your money and build a stronger financial future.
Step 1: Outline Your Financial Goals
Begin by setting clear and attainable financial objectives. Whether it’s long-term goals like planning for retirement, or short-term and mid-term goals like purchasing a new car and saving to pay the rent, setting your goals gives you a blueprint for your financial path.
Step 2: Assess Your Income and Expenses
Keep precise records of your income and spending to understand your financial patterns. Doing this will show you your financial strengths and weaknesses. You can then prioritise what needs to go into your bill plan and how much to allocate for each item.
Step 3: Make a budget
After assessing, draw up a full list of all the items that require payments, based on your financial goals and lifestyle. Allocate funds for basic needs, savings, and discretionary spending, so that every naira has a purpose.
Step 4: Sign in to Lint and select “Create a Bill Plan”
Click the get started button and then select a currency for your bill plan. After this, name your bill plan. The name could be anything, but we recommend using a name that represents what the bill plan is for. “My Home”, for example, could be a name for a bill plan containing items such as: light bill, DSTv bill, gateman salary, etc.

Step 5: Add a bill to your plan
Use the “Add bills” button to populate your plan with the transfer, bill, subscription, or financial commitment you need taken care of. Bills fall into three categories:
- “Mobile & Utility”
- “Online subscriptions”
- “Bank transfers & Salaries”
If your bill is an online subscription, a virtual utility card will be generated. You can use the virtual card details on merchant sites instead of your bank card. It’s secure and gives you more control over when and how you get billed.
Select the category that best suits your budget item, then choose what you’re looking for. Alternatively, use the search bar to find what you want directly.
[IMAGE OF SCREEN PAGE WITH “ADD BILL” CIRCLED
IMAGE OF SCREEN PAGE WITH “CATEGORIES]
Step 6: Setup bill info
After selecting your bill item, set up the details. This is where you enter the amount and set the payment frequency (daily, weekly, monthly, or yearly) if it is a recurring payment.
[IMAGE OF SCREEN WHERE INFO FOR A BILL IS FILLED]
Step 7: Repeat steps 5 & 6
If your bill plan will contain more than one budget item, repeat steps 4 & 5 to add as many budget items as you need.
Step 8: Fund your bill plan
Your bill plan is ready with all the budget items. Now it’s time to fund it. The app automatically calculates the total you need to save to cover your bill plan for the month. You can choose to fund the bill plan immediately or fund it later.
[IMAGE OF SCREEN WHERE BILL PLAN IS DISPLAYED AND “SAVE MONEY” BUTTON IS CIRCLED]
To fund your plan, a quick BVN verification is required, in compliance with CBN regulations. You will only need to do this once. High security standards are in place, so all your sensitive information stays safe and secure.
YOU’RE DONE!
That’s it! You’ve finished budgeting and creating a bill plan. You can monitor payments and track your financial history inside the app. You also have the option to reschedule, pause, or remove bill items at any time.
It’s time to sit back and let Lint do the rest.