
Welcome to the LINT mobile app, your trusted financial platform! We’re here to help you navigate our platform with ease. Here are answers to some of our most frequently asked questions. Whether you’re ready to manage, automate, schedule, and track your payment plans, or understand how our platform works, this FAQ section is designed to provide you with the information and support you need. If you can’t find what you’re looking for, please don’t hesitate to contact our Customer Support service.
General
Q: What is LINT?
A: LINT is more than just a financial app! It is a revolutionary financial solution designed to help you automate and schedule your payment plans, manage multiple subscriptions, track your spending, and achieve your financial goals. Welcome to the future of finance!
Q: Is my data secured on the mobile app?
A: Yes, of course!
Our platform uses industry-standard encryption and security measures to protect your data.
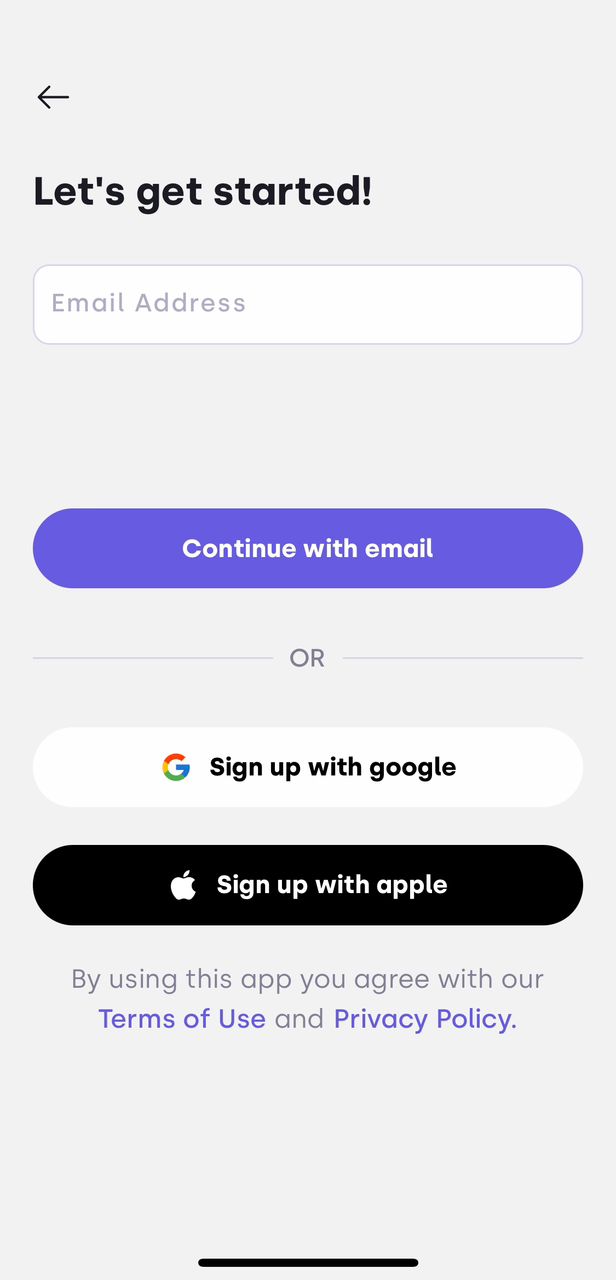
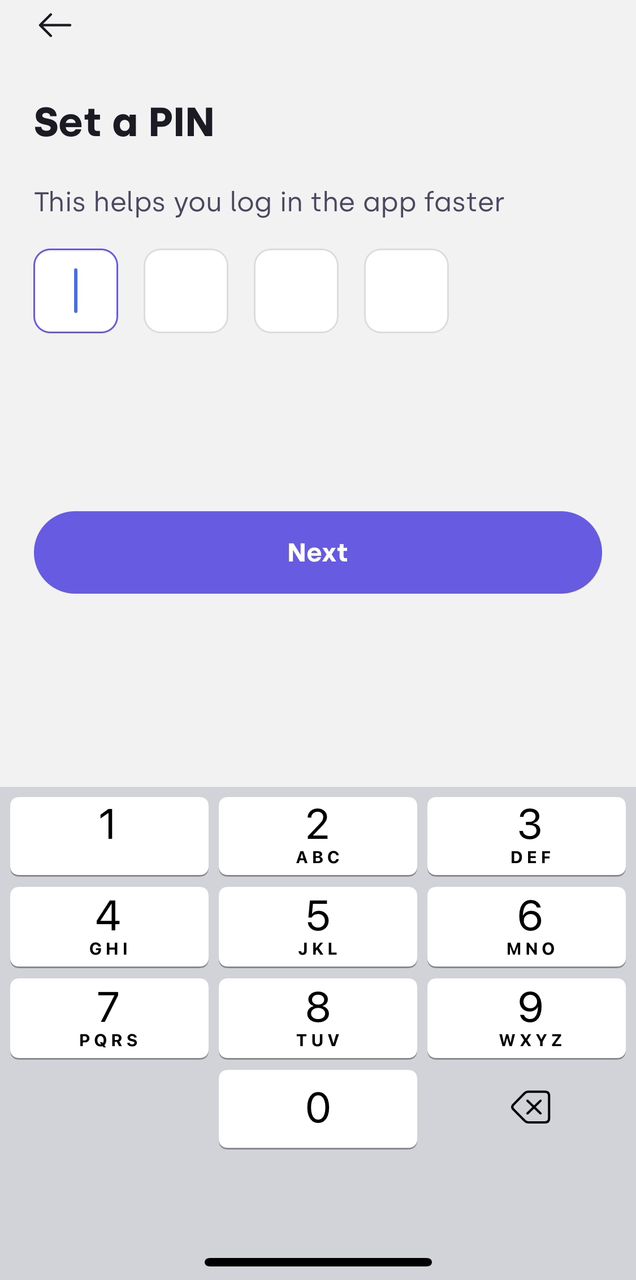
Q: How do I get started?
A: Very Simple!
Follow these steps to get started;
- Sign in to your account.
- Explore your dashboard and begin to navigate various user-friendly features.
Account Management and Navigation
Managing your LINT account is very easy. In this section, we’ll guide you through the basics of navigating our platform. Whether you’re a new user or need a refresher, these FAQs will help you get the most out of your experience. Below, you’ll find answers to some of our most frequently asked questions about account management and navigation.
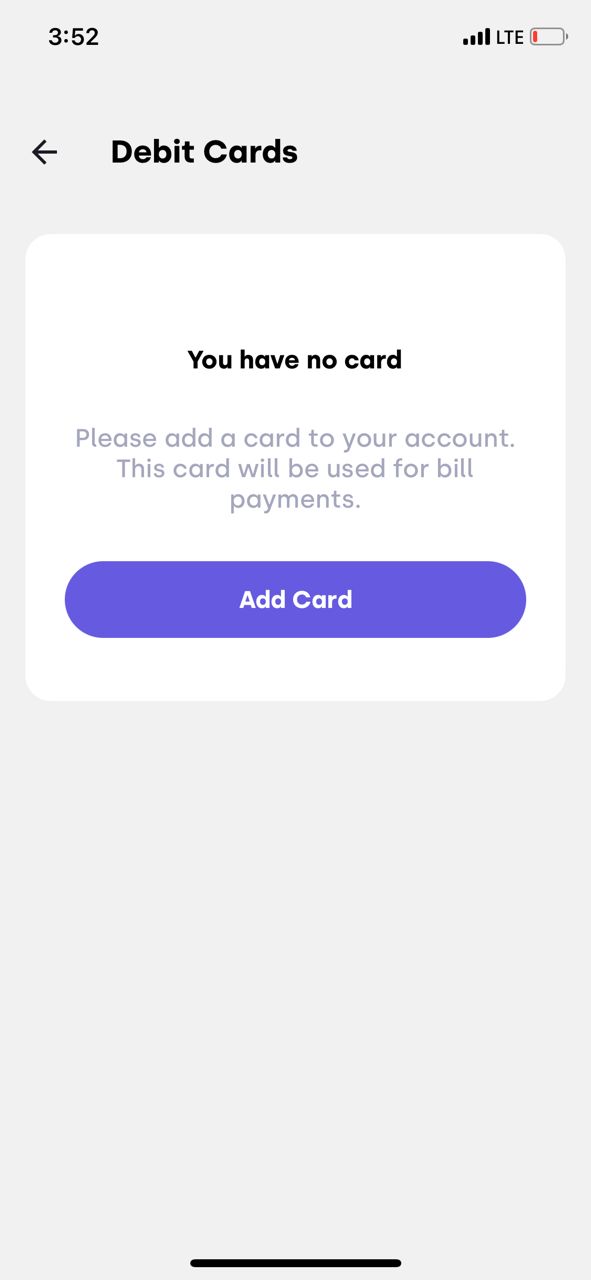
Q: How do I add my debit cards to my account?
A: Ready to take your financial journey to the next level? Adding your debit card to your account is the first step! Simply follow these easy steps to get started;
- Sign in to your account.
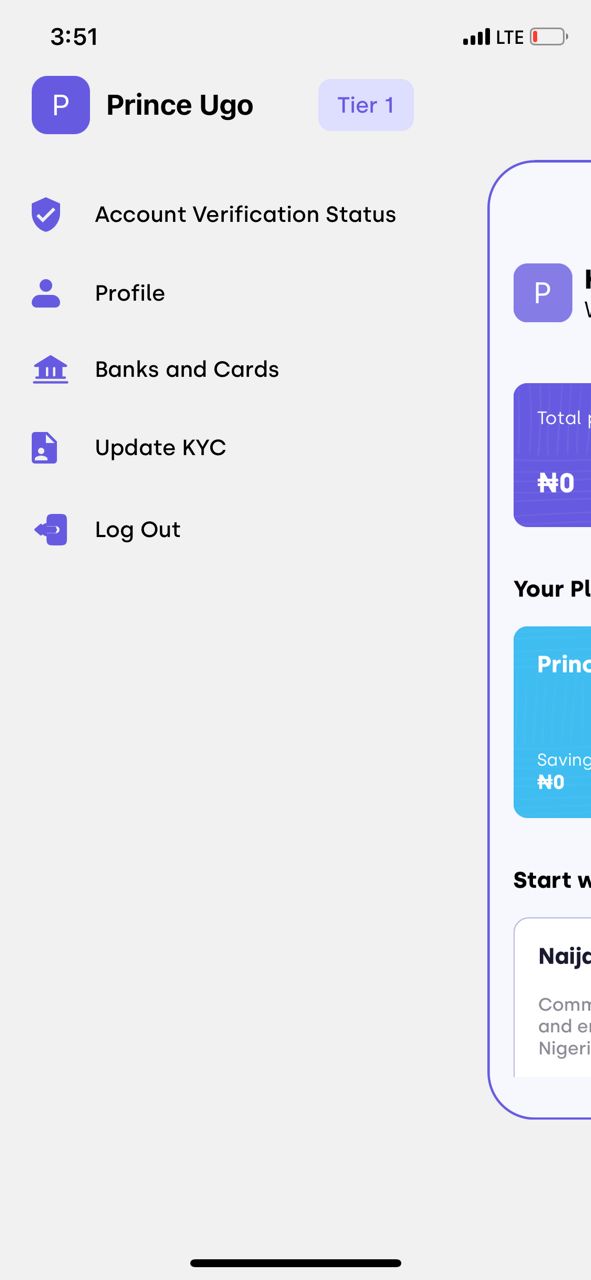
- Click the menu button.
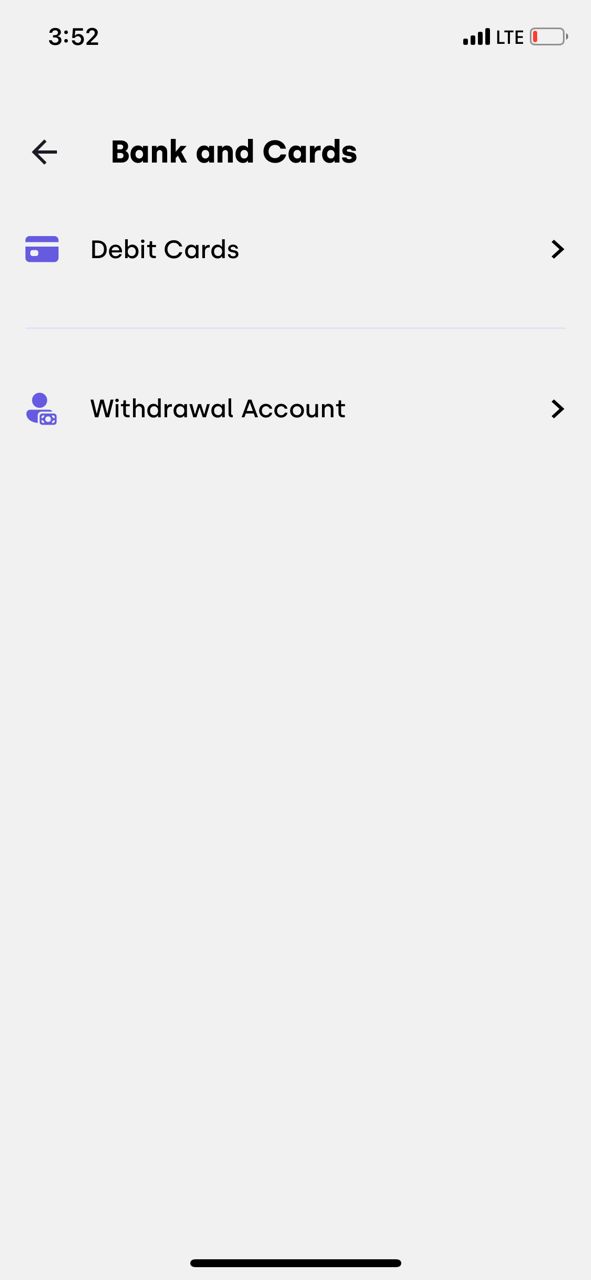
- Select ‘Banks and cards’ from the dropdown menu.
- Select debit cards
- Choose ‘Add card’ under the ‘Debit cards’ section.
- Enter your bank’s login credentials to link your account.
- Verify your account and confirm ownership.
Q: How do I add a withdrawal bank account to my transactions?
A: Eager to enjoy seamless withdrawals! Adding a bank account to your transactions is a simple step that will make managing your money a whole lot easier. Follow these easy steps to get started;
- Sign in to your account.
- Click the menu button.
- Select ‘Banks and cards’ from the dropdown menu.
- Go to the ‘Withdrawal account’ section.
- Search for your external bank from the list of available institutions and select it.
- Enter your bank’s login credentials to link your account.
- Verify your account and confirm ownership.
Q: How do I create a bill plan and schedule one-time or recurring payments?
A: Stay ahead of your bills and simplify your payments! With our bill planning and scheduling tools, you can pay your bills with ease and confidence. These are the processes of setting up plans and scheduling payments that suit your needs;
Step 1: Access Your Account
- Sign in to your account.
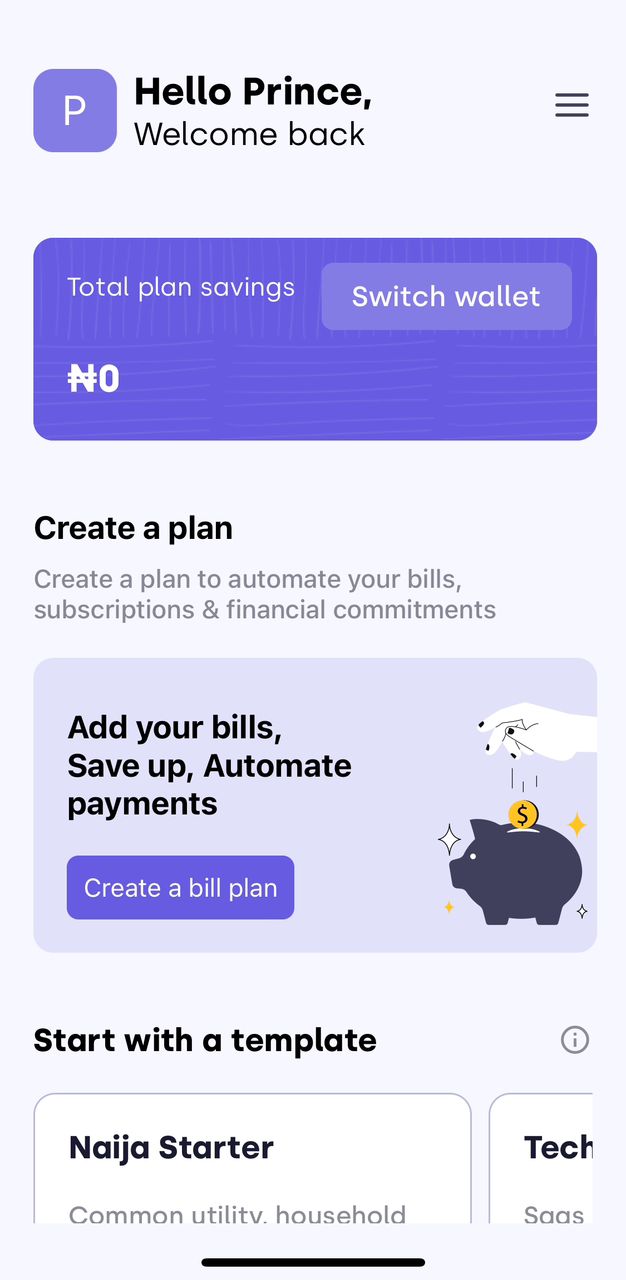
- Scroll down the dashboard to the “Your plans” section.
Step 2: Initialize Bill Plan Creation
- Select “Create a bill plan”.
- Click “Get started”.
Step 3: Set Up Your Plan
- Choose a currency for your plan and continue.
- Pick a name for your plan (e.g., “TEAM RECYCLE” for a recycling project) and continue.
Step 4: Add Bills
- Click “Add bills” at the end of the page.
- Select the type of bill category (e.g., Mobile and utility, Online subscriptions, Bank transfers, and salaries).
Step 5: Add Recipient Details
- Add your recipient’s bank account details (e.g., for bank transfers to your workers).
Step 6: Schedule Payment
- Schedule a payment for your bill plan.
Q: How do I set up automatic transfers for bills, savings, and investments?
A: Put your finances on autopilot! Setting up automatic transfers is a simple yet powerful way to manage your money, achieve your goals, and reduce financial stress. Let’s get started on setting up your automatic transfers and watch your financial future take shape!
Step 1: Access Your Account
- Sign in to your account.
- Scroll down the dashboard to the “Your plans” section.
Step 2: Initialize Bill Plan Creation
- Select “Create a bill plan”.
- Click “Get started”.
Step 3: Set Up Your Plan
- Choose a currency for your plan and continue.
- Pick a name for your plan (e.g., “HEALTH BILL” to fund medical services) and continue.
Step 4: Add Bills
- Click “Add bills” at the end of the page.
- Select “Bank transfers and salaries”
Step 5: Add the desired savings destination
- Add your recipient’s bank account details (e.g., for a bank transfer to Health Insurance Service).
Step 6: Schedule Payment
- Schedule a payment for your bill plan.
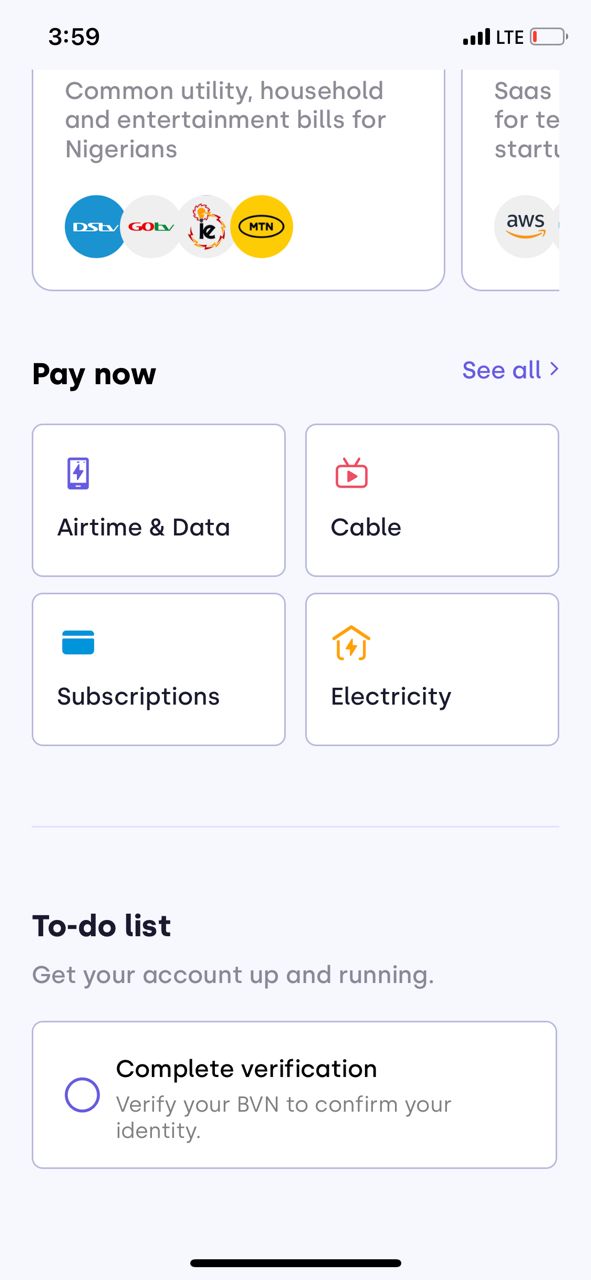
Q: How do I pay for my air times & data, cable, subscriptions, and electricity?
A: Paying bills doesn’t have to be a chore. Discover the stress-free way to manage your airtime & data, cable, subscriptions, and electricity payments, and enjoy more time for the things that matter most. Follow these steps, to pay for your utilities efficiently;
Step 1: Access Your Account
- Sign in to your account.
- Scroll down the dashboard to the “Pay now” section.
Step 2: Select Utility
- Choose the utility you want to pay for (Airtime & Data, Cable, Subscriptions, or electricity).
- Click on the specific utility (e.g., Airtime & Data).
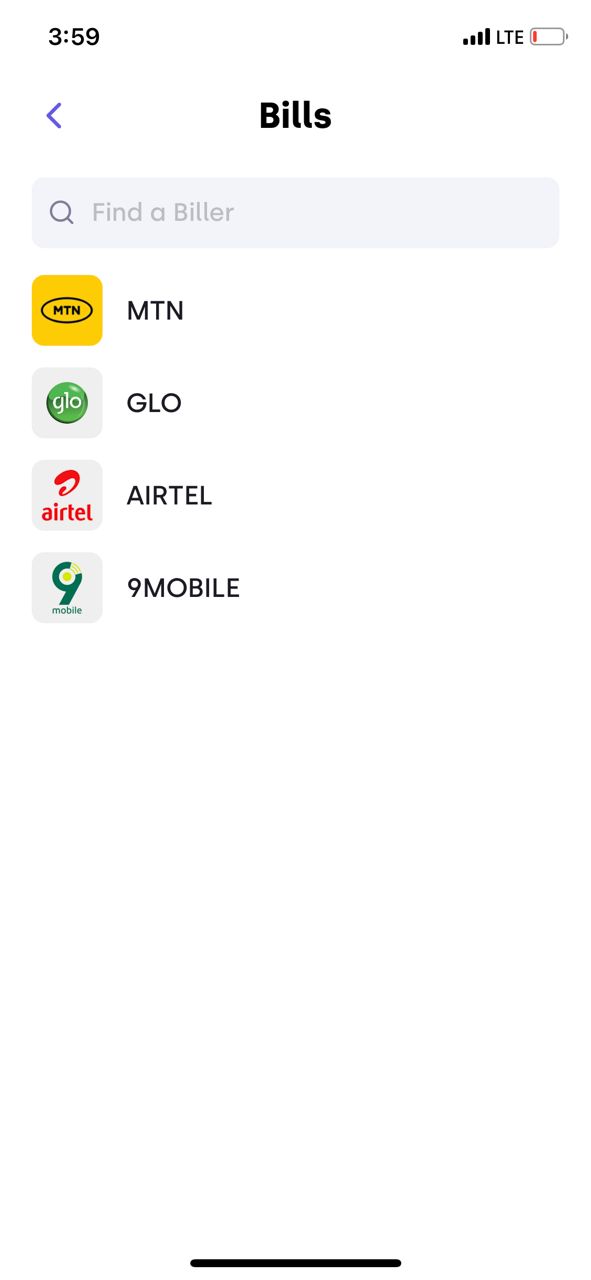
Step 3: Set Up Your Plan
- Select a biller (e.g., MTN, Glo, Airtel, etc.).
- Choose a specific plan (e.g., Data or Airtime).
- Specify the amount and continue.
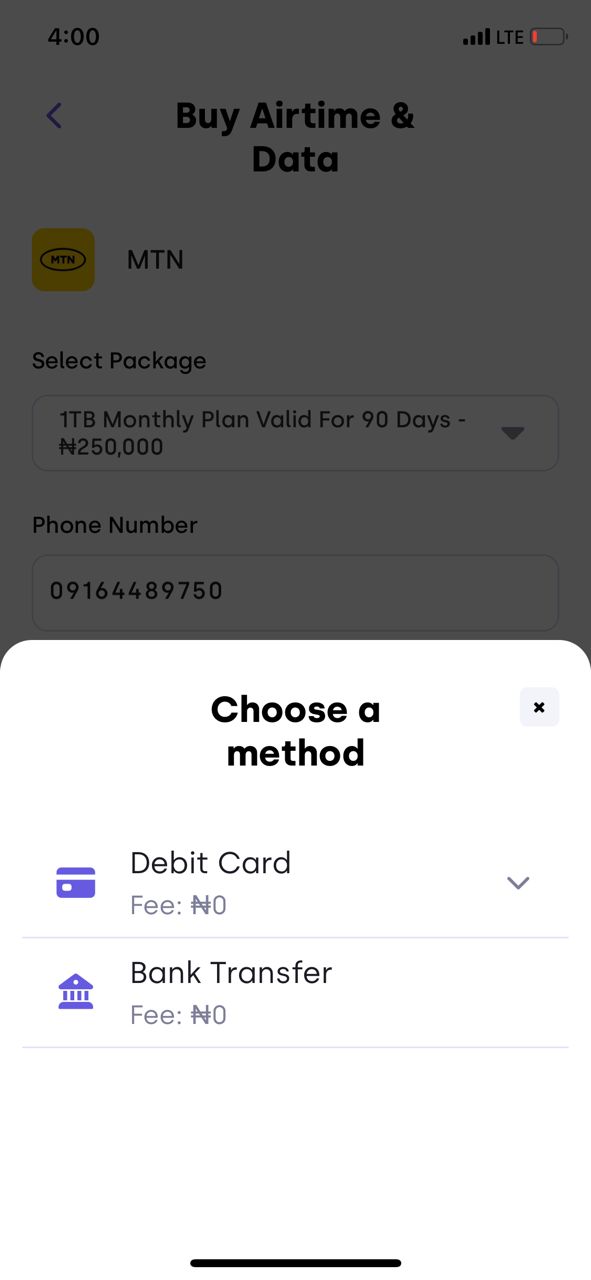
Step 4: Add Payment Options
- Choose a payment method (Debit Card or Bank Transfer).
Step 5: Schedule Payment
- Schedule a payment for your plan.
- Confirm your payment details.

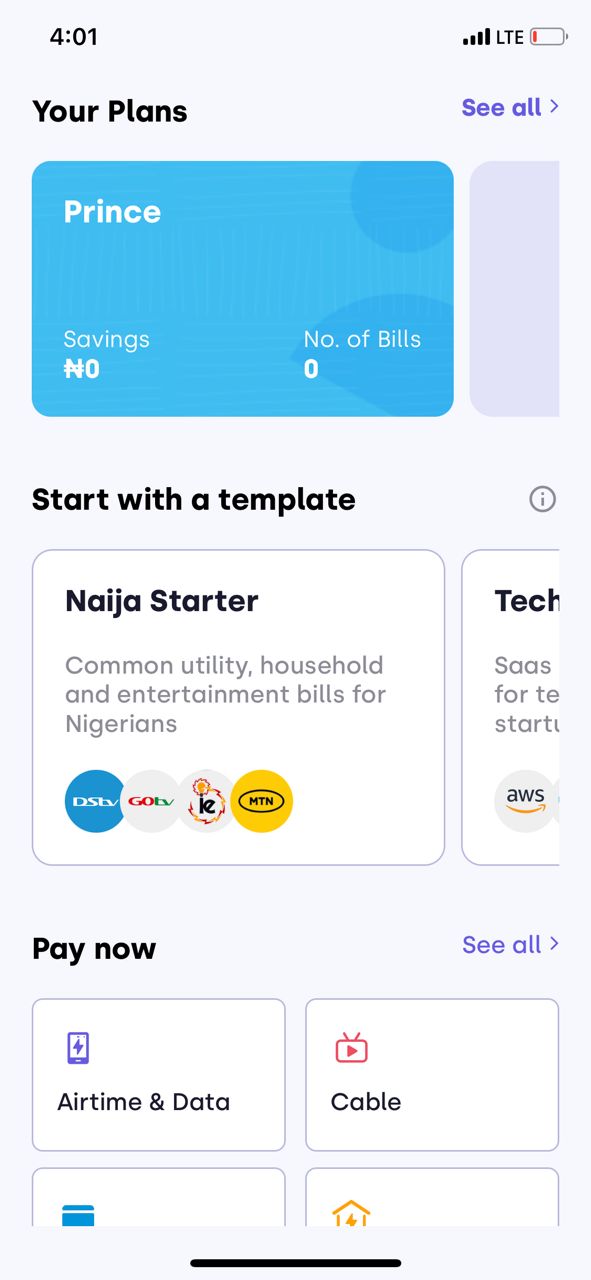
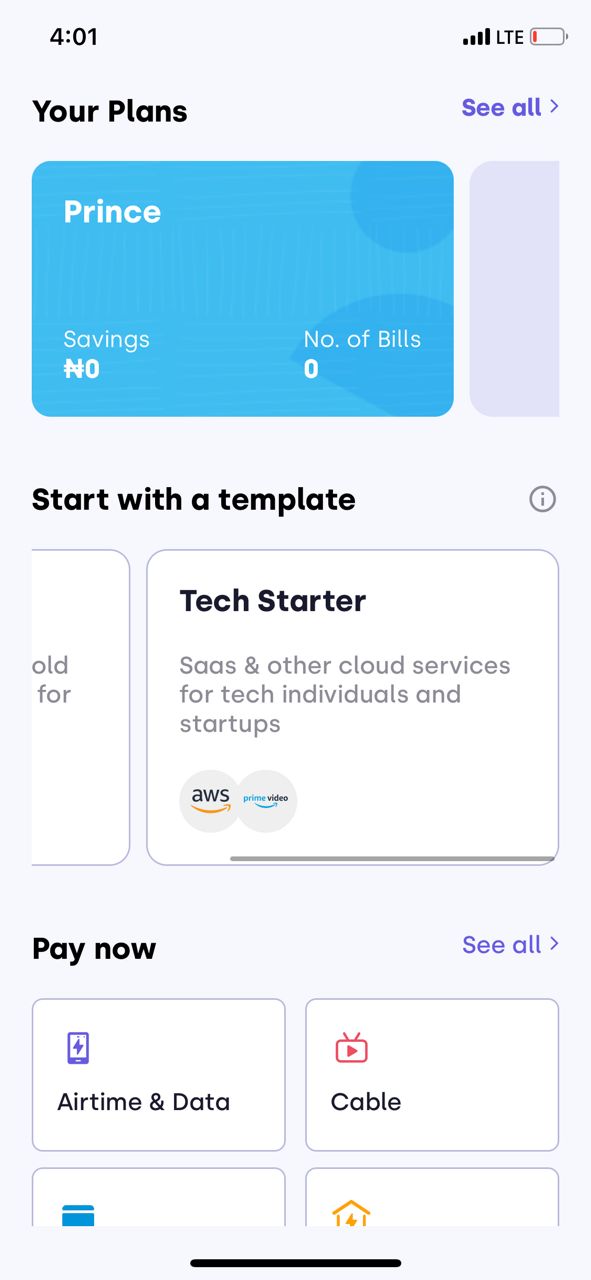
Q: What is the “Naija Starter/Tech Starter” Plan and how do I get started?
A: Power down your stress! The “Naija Starter/Tech Starter” is a streamlined plan that offers a range of features and benefits to suit your needs. Follow these easy steps, to enjoy the “Naija Starter or Tech Starter” plan in no time;
Step 1: Access Your Account
- Sign in to your account.
- Scroll down the dashboard to the “Start with a template” section.
Step 2: Choose Your Template
- Select either the Naija Starter or Tech Starter plan.
- Click “Get Started” to add bills to your template.
Step 3: Add Payment Options
- Choose a payment method (Debit Card or Bank Transfer).
Step 4: Schedule Payment
- Schedule a payment for your plan.
- Confirm your payment details.
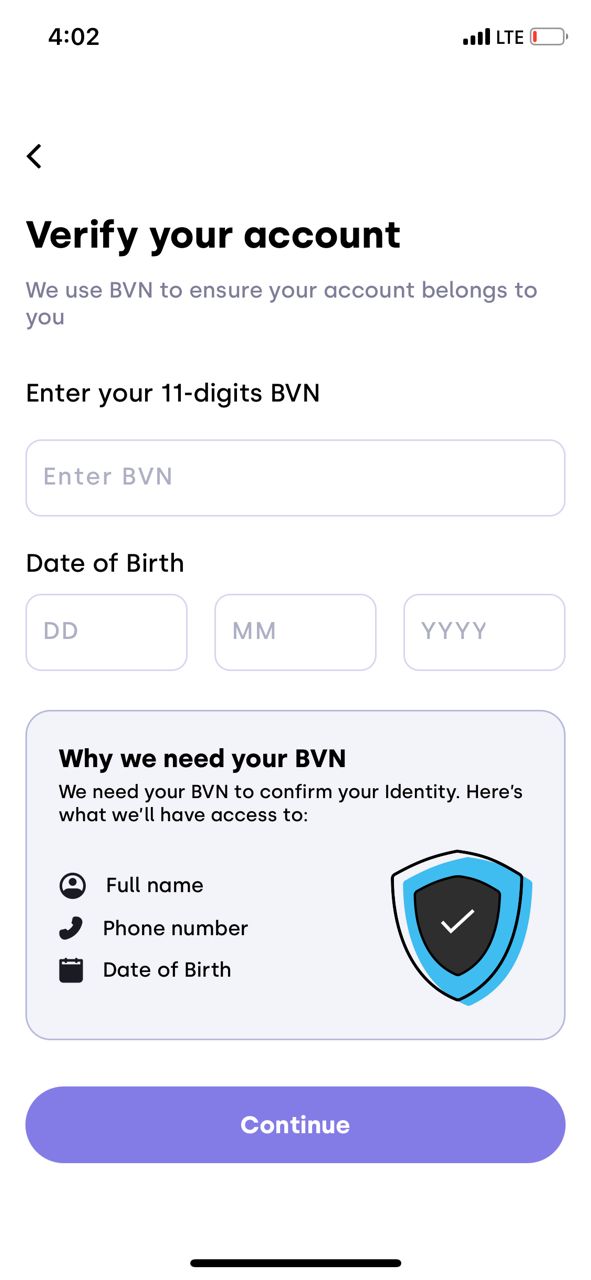
Q: How do I link my BVN to my account?
A: Say goodbye to banking barriers! Linking your BVN to your account is the solution to a smoother, more efficient financial journey. Follow our easy guide to connect your BVN and complete your account setup;
Step 1: Access Your Account
- Sign in to your account.
- Scroll down the dashboard and select the “Complete Verification” section.
Step 2: Verify Your Account
- Enter your BVN (Bank Verification Number) and personal details.
- Review and confirm your details.
Or
- Sign in to your account.
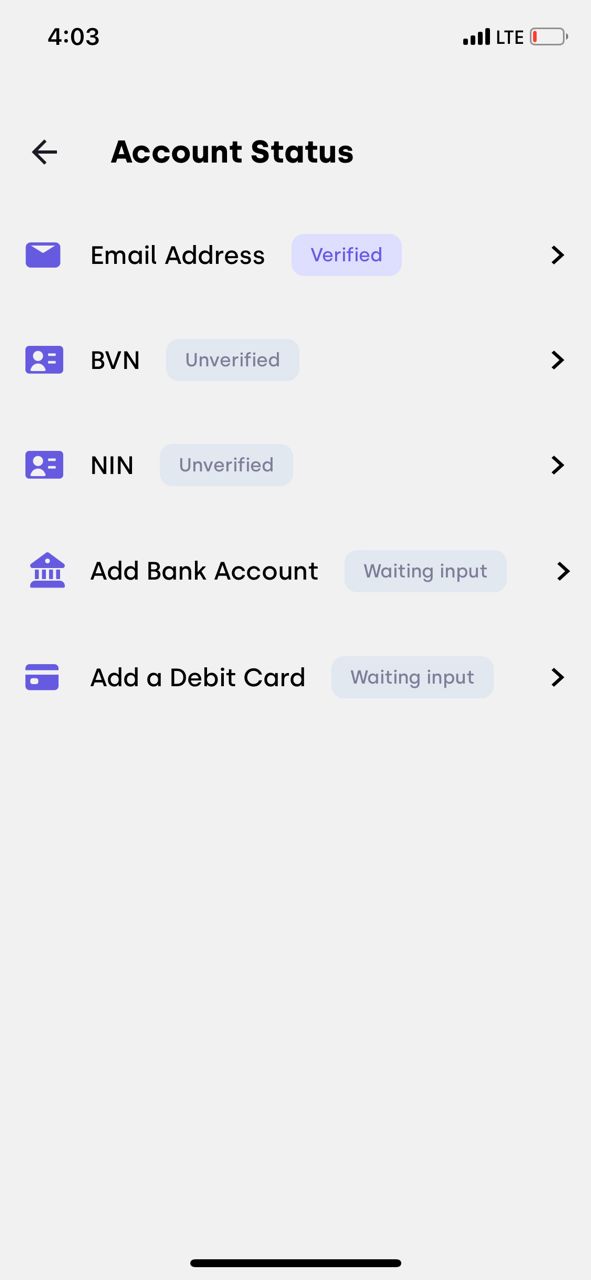
- Click the menu button.
- Select ‘account verification status’ from the dropdown menu.
- Select BVN and continue.
- Enter your BVN (Bank Verification Number) and personal details.
- Review and confirm your details.

Q: How do I verify and link my NIN?
A: Identity verified, possibilities unleashed! Linking your NIN is a simple yet powerful step towards a more secure and connected life. Follow our guide to verify and link your NIN, and start enjoying the benefits of a verified identity.
Sign in to your account.
- Click the menu button.
- Select ‘account verification status’ from the dropdown menu.
- Select NIN and enter vNIN
- review and confirm details

Transaction Management
Managing your transactions is a crucial part of taking control of your finances. With LINT, you can easily track, monitor, and manage your transactions in one place. In this section, we’ll answer some of our most frequently asked questions about transaction management. Whether you’re looking to simplify your financial life or just need help understanding your transaction data, we’ve got you covered.
Q: Can I link multiple bank accounts?
A: Yes, you can link multiple bank accounts to our platform.
Q: Can I transfer funds between accounts?
A: Yes, you can move money between accounts with confidence and convenience, between your linked accounts.
Support
Q: How do I contact Customer Support?
A: Need help? We’ve got your back! Our customer support team is just a message away. Get assistance from our friendly experts and experience the power of personalized support – because your questions deserve answers. You can reach us through our in-app support feature by;
- Sign in to your account.
- Click the menu button.
- Select “Contact Support” from the dropdown menu.
- Continue to chat with the customer support service to resolve any potential issues.
Q: What are your customer support hours?A: Our customer support team is available 24 hours a day, 7 days a week. You can reach us anytime for assistance.